Setting Up a Japanese Chisel (Nomi)
When you invest in a quality Japanese nomi, the setup process isn’t optional, it’s essential. A properly prepared chisel not only performs better but lasts longer and gives you far greater control and feedback in the timber. Let’s break it down into three key steps: hoop fitting, back lapping (ura), and bevel sharpening.
1. Hoop Fitting
A lot of new Japanese chisels arrive with the steel hoop (the katsura) just loosely placed on the handle. Its purpose is critical: it reinforces the timber handle so that with mallet work the handle doesn’t split. Begin by seating and compressing the fibres at the butt end of the handle so the hoop sits snug and flush. Next, mushroom-out the handle end slightly so the hoop clamps firmly when struck. When done right, the hoop and handle absorb impact together, rather than the timber failing. This first step protects your investment and sets the foundation for repeated use in serious work.
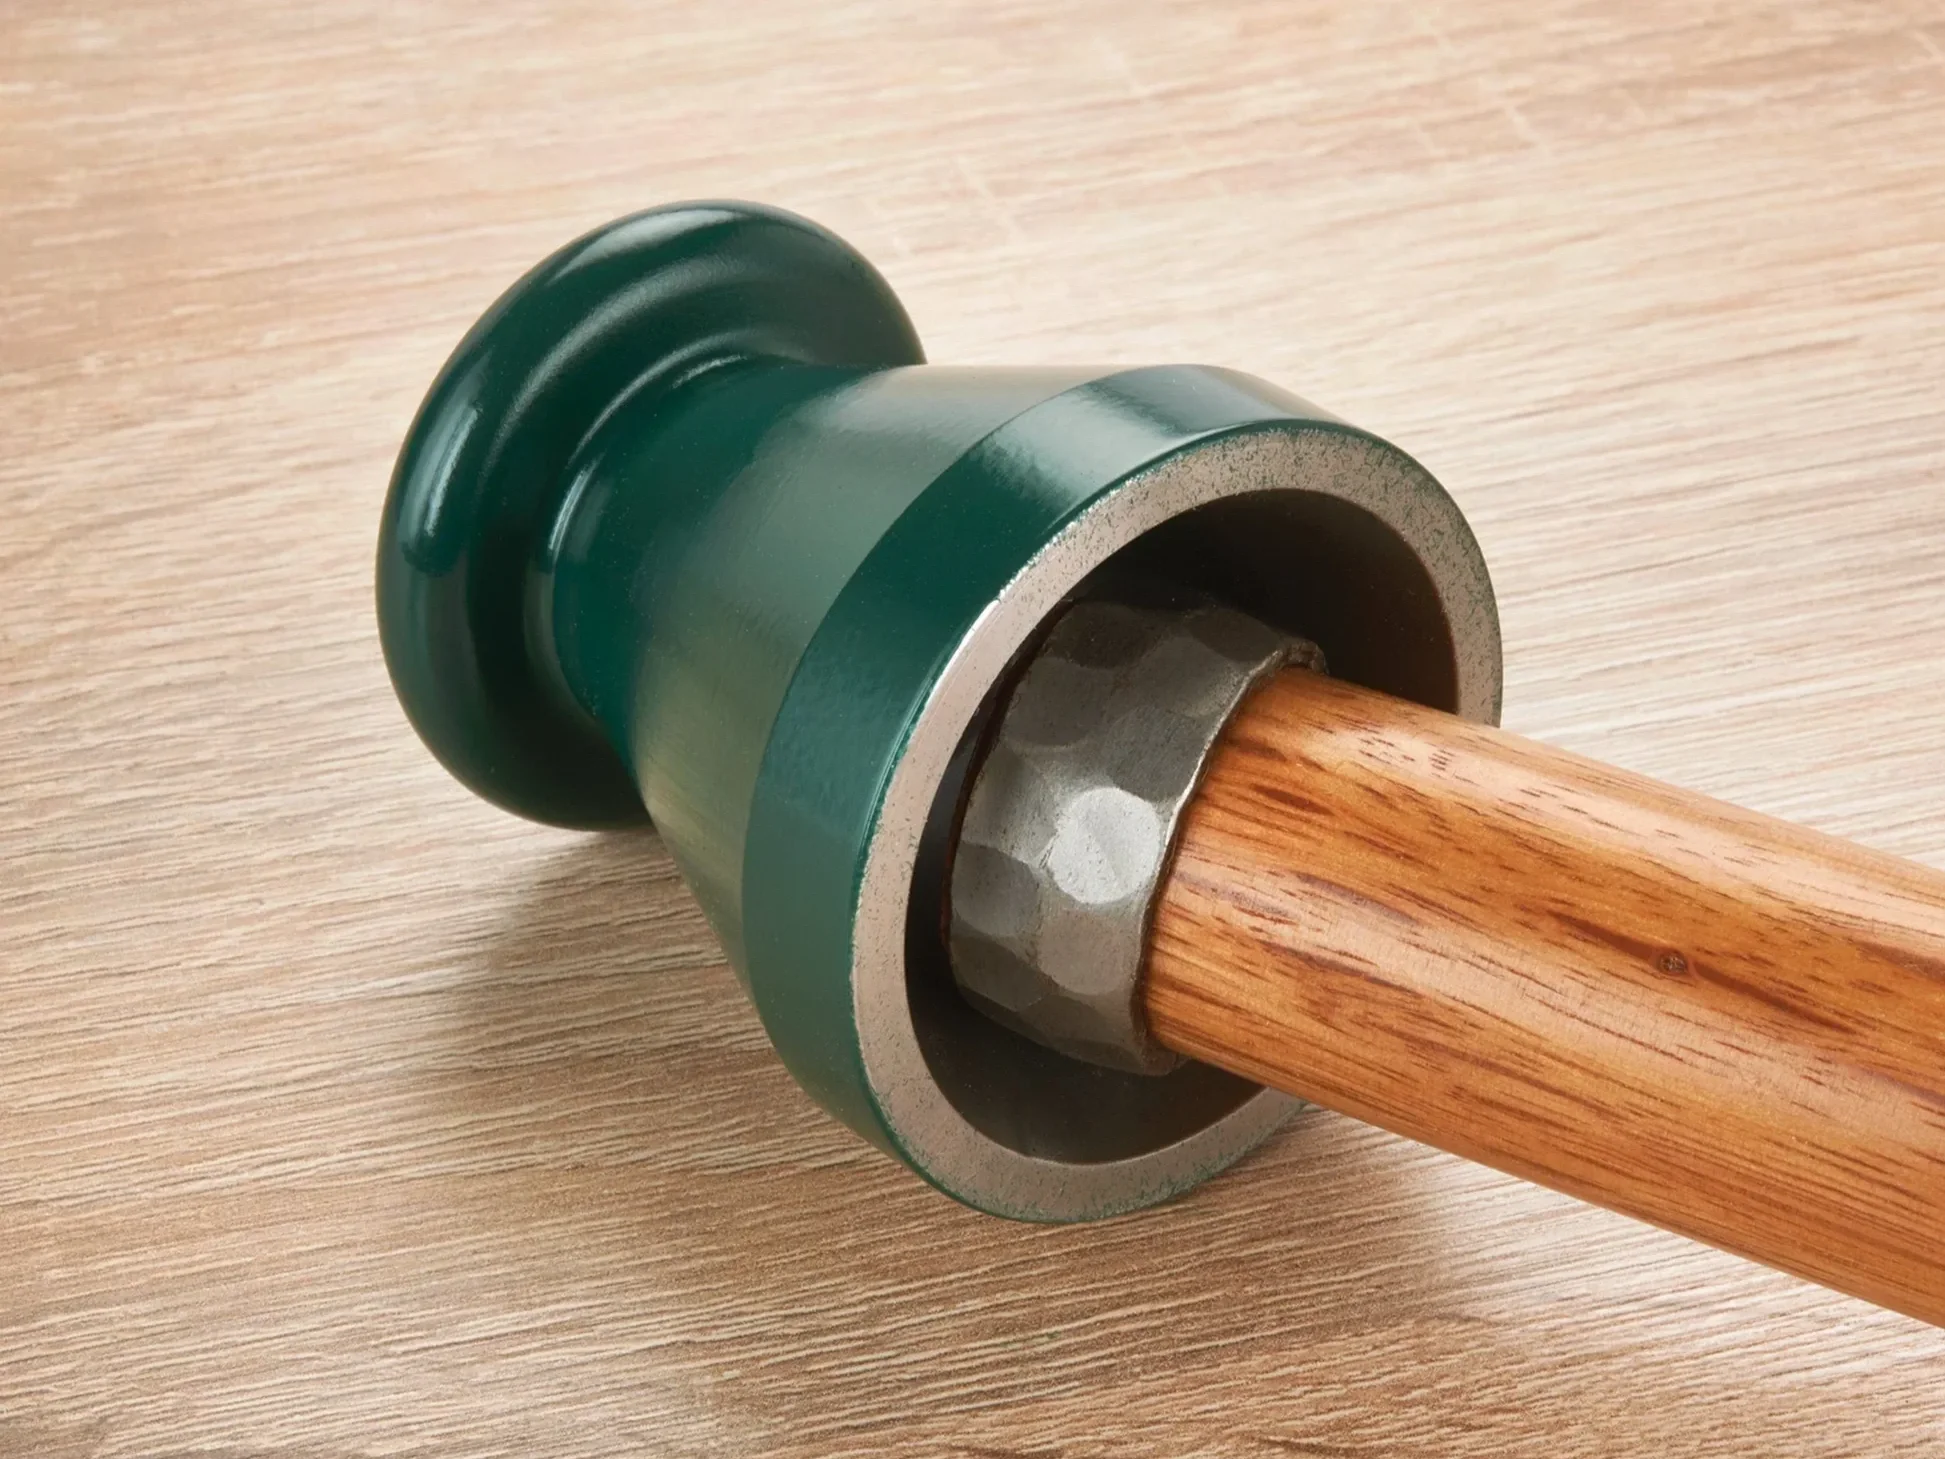
Set the hoop firmly so the handle can withstand repeated mallet strikes without splitting.
2. Lapping the Back (Ura)
The hollow-ground back—or ura—is what makes a nomi so different from a standard chisel. The concave curvature on the back means less contact with the stone and smoother, chatter-free cuts. To set it up: flatten the perimeter of the back on a coarse lapping plate or stone until you have a precise contact surface, while retaining the hollow centre. This gives your tool its reference surface and ensures every stroke is true. Skip this step and you risk a weaker edge seat, chatter in joinery and reduced accuracy.
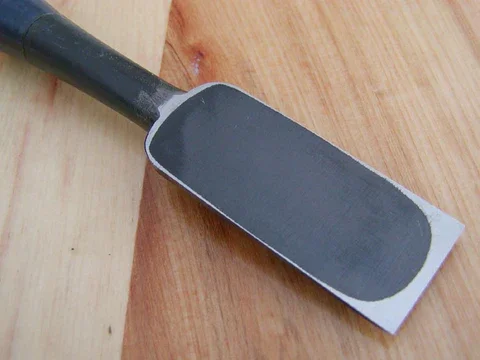
Lapping the Back (Ura)
Flatten the back around the ura to create a true reference surface for accurate cutting.
3. Sharpening the Bevel
Once your hoop is fitted and back is lapped, focus on the bevel. With a laminated steel edge layer, it’s essential to work methodically from coarser to finer stones, maintaining the correct angle. Finish with a polish so the edge slides cleanly into the wood. In use, you should feel the tool bite effortlessly, not fight the timber. After sharpening, clean the bevel and back, test on product timber, and you’re ready.
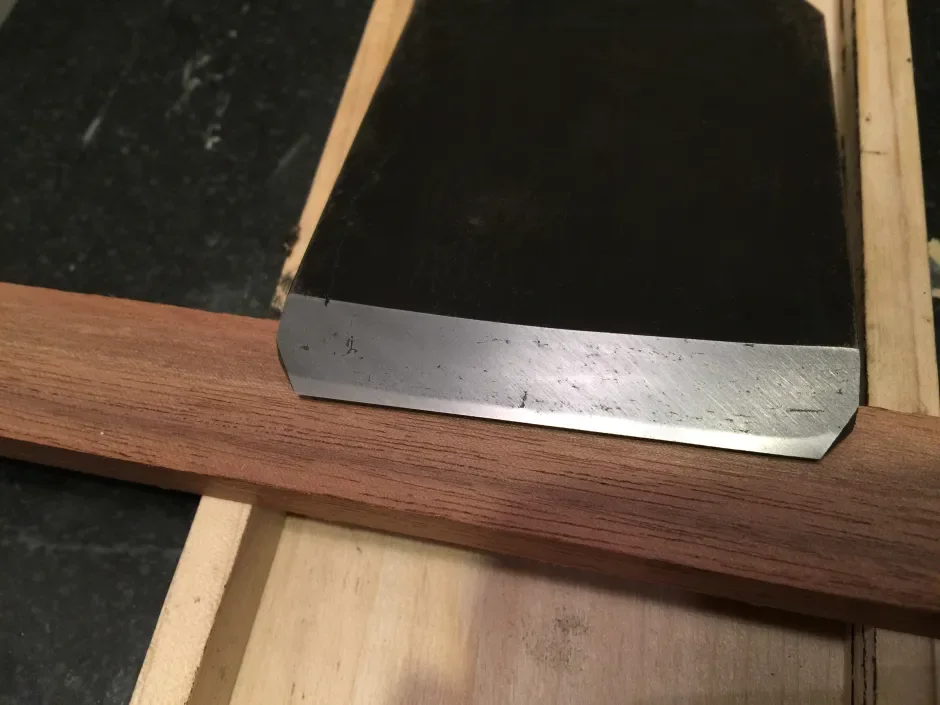
Sharpen the Bevel to 25 degrees
Sharpen the bevel through progressively finer stones to produce a clean, razor-sharp working edge.
The Payoff
When your nomi is set up properly, the difference is obvious: the handle feels secure, the back sits flat and true, and the edge delivers controlled, smooth cuts with excellent feedback. This isn’t just about buying a fine tool—it’s about preparing it for real work.
So when your next plane, joinery project or fine woodworking piece is ready, you’ll be glad you took the time up front. A well-prepared Japanese chisel isn’t just an edge—it’s a tool that honours heritage and enables precision.